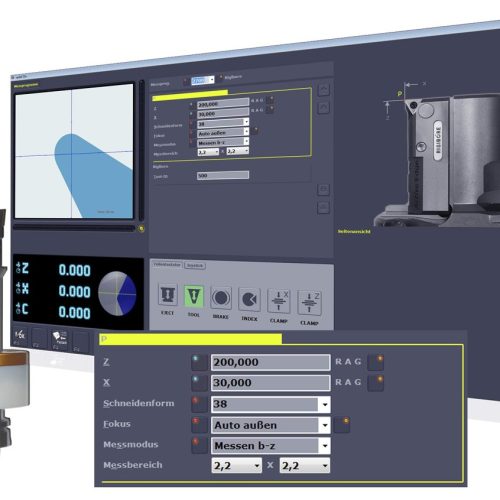
Run off & establishing preset size
The following instructions should be carried out for each of the tools used in the operation. This could be a rough boring bar, semi finishing boring bar or just a finish boring bar.
Roughing tools-set to size
Finishing tools-set to undersize
Run off
The following instructions should be carried out for each of the tools used in the operation.
This could be a rough boring bar, semi finishing boring bar or just a finish boring bar.
- Roughing tools – set to size
- Finishing tools – set to undersize
See section below on establishing a preset size.
| Action | Notes | |
|---|---|---|
| 23.0 | Load part to machine fixture | |
| 23.1 | Check fixture clamping | |
| 23.2 | Check bore location to program datum | |
| 24.0 | Pre-check program with tool removed from machine | |
| 25.0 | Load tool to machine | Clean taper before inserting into machine. It’s also worth double checking the following:
|
| 26.1 | Run cycle | |
| 27.0 | Measure part | |
| 28.0 | Adjust tool | See notes (below) on established preset size for finish tooling |
Established Preset Size
Because of the impact of deflection on boring bars they will not ultimately cut the size that they are set to. For this reason it is necessary to establish a preset size.
Establishing a preset size is relatively simple but many factors have a dramatic influence on the deflection.
| Criteria | Details | Notes |
|---|---|---|
| Depth of cut | Depth of cut affects the loading on the cutting edge which will ultimately affect push off and affect the cut size | It’s important to maintain a reasonable depth of cut for all operations |
| Insert wear | Flank wear is the natural wearing of insert due to the abrasive wear mechanism | Cutting times are estimated at around 15 minutes of contact for cutting edges. This can be affected by insert grades, coatings and applications. |
| Semi finish or rough bore size | Semi finishers and roughers play an important part in maintaining a reasonable depth of cut for the finishing operation | If the semi finish or rough size is dramatically changed this will increase the depth of cut on the finishing tool |
| Coolant supply | Coolant supply – helps evacuate chips, helps prevent insert problems and removes heat from the workpiece. It also aids in cooling chips helping to fracture swarf into manageable chips |
The most effective way to set a finish tool is to take half the stock off at a time.
Typically a finishing operation should be maximum of between 0.1 – 0.2mm depth of cut on radius.
Finishing tools are generally single point so that there is one effective cutting edge that can be used to hold size, this can have a negative impact on push off as the cutting edge is not supported.
| Action | Notes | |
|---|---|---|
| 30.0 | Measure the semi pre finished bore size to establish the depth of cut for the finishing operation | |
| 31.0 | Use engineering blue to mark the pre bore sides | |
| 32.0 | Preset the finishing tool to only clean up the pre finished bore | |
| 33.0 | Run tool through program making small adjustments until the pre finished hole is cleaned up by undersized | |
| 34.0 | Measure the bored hole | |
| 35.0 | Adjust the tool to remove the remaining stock | |
| 36.0 | Adjust the tool to remove the remaining stock | |
| 37.0 | Load a new part to machine | |
| 38.0 | Run cycle | |
| 39.0 | Measure result | |
| 40.0 | Adjust tool to achieve finished size |
For more information, see also


